


This post may contain affiliate links. Please read our disclosure and privacy policy for more information.
Dirty AC vents can make your car smell musty. They can also blow dust right into your face. The good news is you can clean most vents at home in less than an hour. You do not need special tools. You just need to be gentle so you do not break the vent fins.
Tools and Items Needed
- Microfiber cloths (2 to 4)
- Soft detailing brush or a clean paintbrush
- Vacuum with a soft brush attachment
- Cotton swabs (optional for tight corners)
- Mild all-purpose interior cleaner or warm soapy water
- Small bowl or spray bottle
- 70% isopropyl alcohol (optional for extra wipe-down)
- Cabin air filter (optional if yours is old)
- Foaming AC evaporator cleaner (optional, for strong odors)
- Nitrile gloves and a basic face mask (optional)
Safety or Legal Notes
Work with the engine off and the key out of the car. If you must run the fan for a test, keep fingers, brushes, and cloth away from moving vent parts. Use cleaners with the doors open for fresh air. Do not soak the vents. Liquid can drip into electronics behind the dash. If you use an AC cleaner aerosol, follow the label directions and do not spray it toward your face.
If your car has a strong chemical smell, heavy mold, or you feel sick when the AC runs, stop and consider a professional HVAC cleaning. For general driving safety basics, see Keep Driving Safety Guide.
DIY: Clean Car AC Vents At Home in 6 Easy Steps
1) Turn Everything Off and Open the Car Up
Park in a safe, flat spot. Turn off the engine. Open the doors or at least the windows. This gives you light and airflow.
Move the vent direction tabs to open the fins as much as possible. If the vent can switch left-to-right flow, set it so you can reach the inside edges.
2) Dry Brush the Vent Fins First
Start with a dry soft brush. Brush lightly across the fins. Work top to bottom. This loosens dust without turning it into muddy streaks.
Keep the brush strokes gentle. Vent fins can crack or pop out if you push hard. If you see a chunk of debris stuck deep inside, do not dig with a sharp tool. Use the vacuum step next.
3) Vacuum the Loose Dust While You Brush
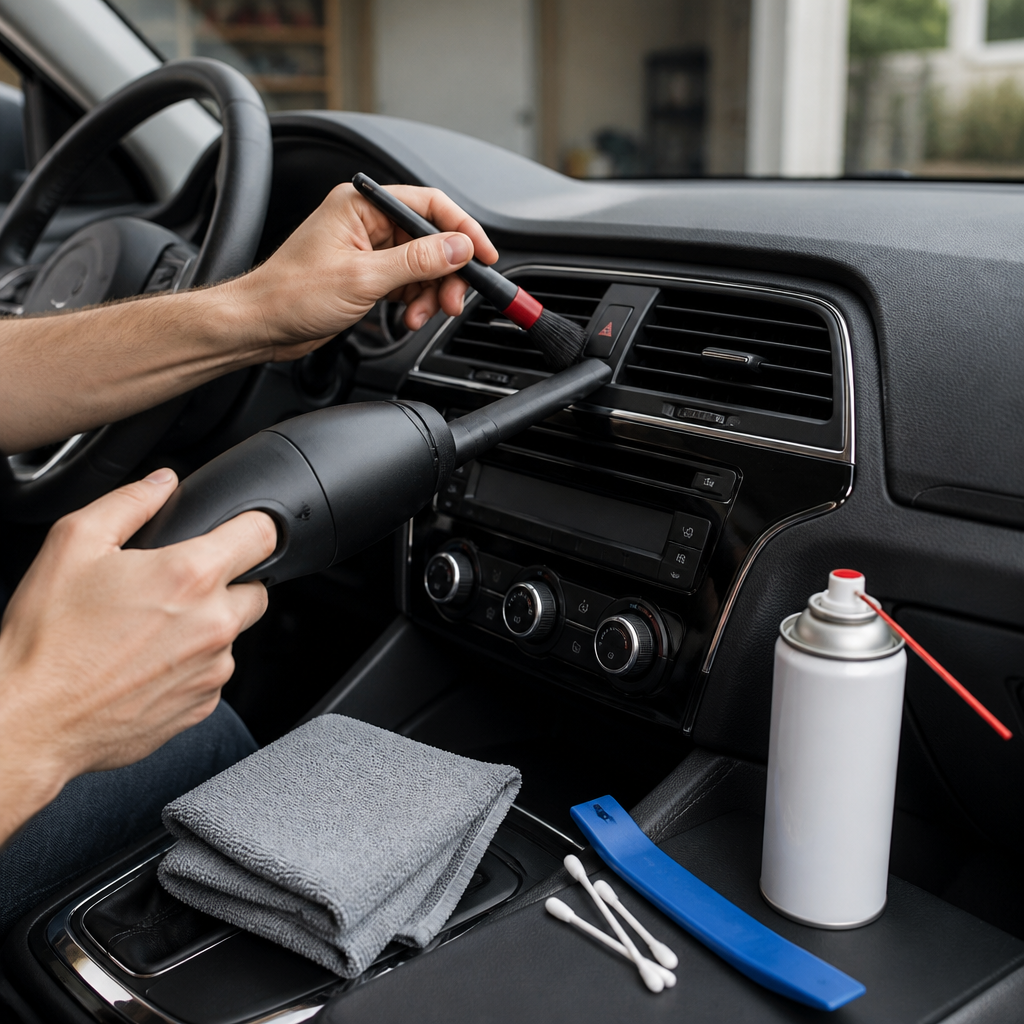
Use a vacuum with a soft brush attachment if you have one. Hold the vacuum near the vent opening. Brush again with your other hand. The vacuum will catch dust as it comes free.
Go slow around the corners. If you only have a narrow crevice tool, keep it a little back so it does not scratch the vent plastic.
4) Wipe the Vents with a Damp Microfiber Cloth
Mix a small amount of mild interior cleaner with water, or use warm soapy water. Lightly dampen a microfiber cloth. It should be damp, not dripping.
Wrap the cloth around a finger and wipe each fin. For narrow gaps, fold the cloth into a thin strip and slide it between fins. Cotton swabs help around tight edges and the vent thumbwheel.
If you want a quick final wipe for grime, you can lightly dampen a cloth with 70% isopropyl alcohol. Do not use heavy alcohol on soft-touch rubber trim since it can dull it.
5) Fix the Smell: Run the Fan and Check the Cabin Air Filter
If your vents look clean but the air still smells bad, the odor is often from the cabin air filter or moisture on the evaporator core.
- Start the car and set the fan to medium.
- Turn off AC (no cold). Turn on fresh air mode (not recirculation).
- Let it run for 5 to 10 minutes with windows cracked. This helps dry the system.
Next, check the cabin air filter if your car has one. If it is dark, dusty, or smells bad, replace it. A clean filter can make a big difference right away.
If you are already doing other easy interior projects, pairing this with Restore car dashboard at home can help the cabin feel fresh again without much extra time.
6) Optional Deep Clean for Musty Odors (Foaming Cleaner Method)
If you still get a musty smell, you may need a deeper clean. A foaming evaporator cleaner can reach places you cannot see.
- Read the product label first. Use it exactly as directed.
- Most products spray through the center vents or through the cabin filter housing.
- Let it sit for the stated time.
- Run the fan on fresh air to dry everything out.
Do not overuse these products. Once or twice a year is enough for most cars.
Common Mistakes
- Spraying cleaner directly into the vent. This can drip into the dash and onto electronics. Spray the cloth instead.
- Using stiff brushes. Hard bristles can scratch vent plastic and break fins.
- Soaking the cloth. Too much water makes streaks and can cause odors later.
- Forgetting the cabin air filter. A dirty filter can make the vents smell bad again fast.
- Only cleaning what you can see. Dust also sits just inside the duct. Vacuuming while brushing helps a lot.
Maintenance Tips
- Do a light vent dusting every 2 to 4 weeks if you drive with windows down often.
- Replace the cabin air filter on schedule, or sooner in dusty areas.
- Once a week, run the fan for a few minutes with AC off and fresh air on. This helps dry moisture.
- Use a clean microfiber for interior wipe-downs. Dirty cloths spread grime around.
If you like tracking what you save with simple DIY work, you might enjoy savings by job type. Small jobs can add up over a year.
Is It Worth It?
Yes for most drivers. Cleaning the vents takes little time and costs almost nothing. You get less dust in your face, fewer interior odors, and a cleaner look on the dash. It also helps you spot bigger problems early, like a cabin filter packed with leaves or a leak that keeps the HVAC system damp.
It is not worth forcing it if vents are fragile or broken. If fins are already loose or the vent assembly is cracked, cleaning too aggressively can make it worse. In that case, use light vacuuming only and plan a repair later.
Conclusion
Clean AC vents make your car feel better right away. Brush and vacuum first, then wipe with a lightly damp microfiber cloth. If the smell stays, dry the system and replace the cabin air filter. For stubborn musty odors, a foaming evaporator cleaner can help when used carefully. Keep up with quick cleanings and your vents will stay fresh with less work.


