




This post may contain affiliate links. Please read our disclosure and privacy policy for more information.
Old window tint can turn purple, peel at the edges, or get full of bubbles. The good news is you can remove it and install new film at home. You just need patience, a clean work area, and the right steps. This guide shows a simple method that works for most cars and helps you get a smooth finish with no bubbles.
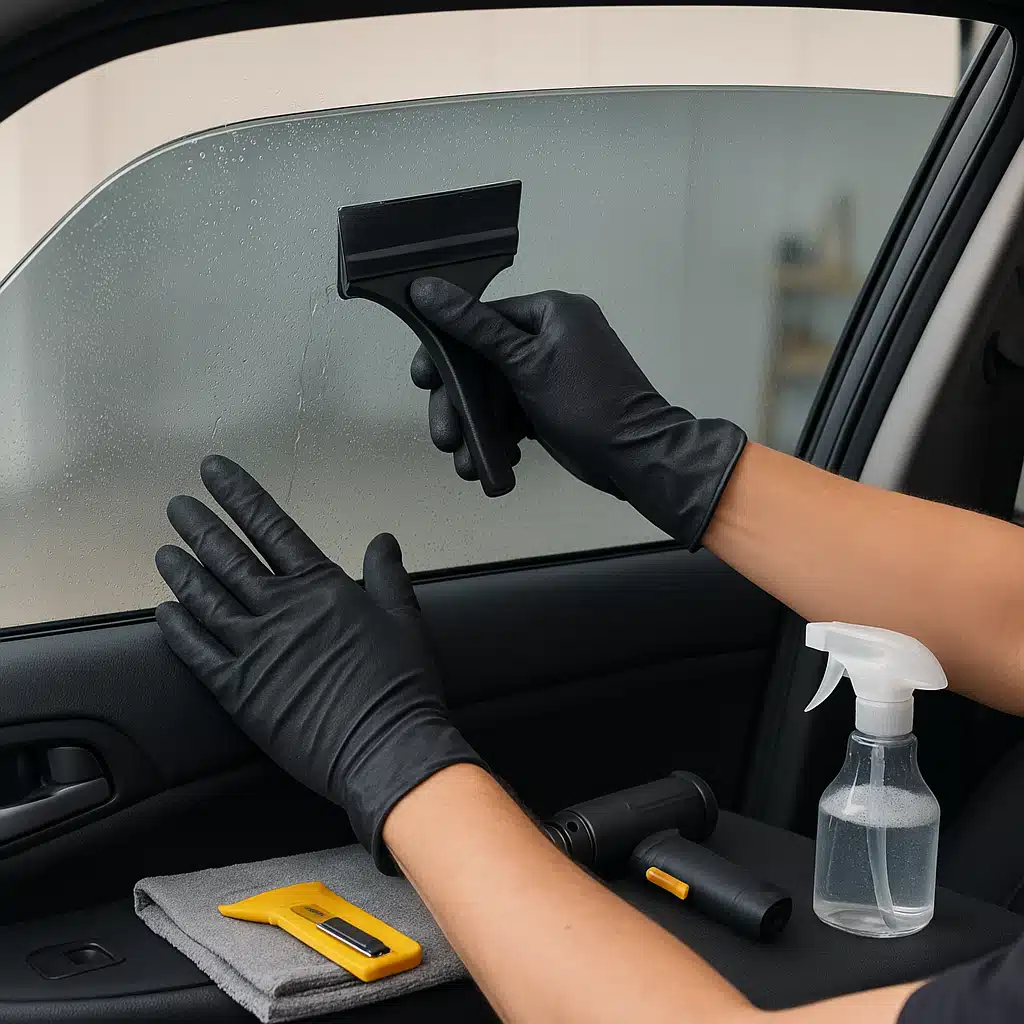
Tools and Items Needed
- Heat gun or hair dryer
- Plastic razor blades or a plastic scraper
- New window tint film (correct size for your windows)
- Spray bottle
- Slip solution: Clean water + 2 to 3 drops of baby shampoo (or mild dish soap)
- Glass cleaner (ammonia-free is safest for interior surfaces)
- Isopropyl alcohol (70% or 90%)
- Microfiber towels
- Lint-free paper towels
- Squeegee: Hard card style or small tint squeegee
- Sharp utility knife with fresh blades
- Low-tack masking tape
- Drop cloth or old towels for the door panels
- Optional: Black trash bags and a sunny day (for the “bag method” on rear glass)
- Optional: Nitrile gloves (helps keep fingerprints off the adhesive)
Safety or Legal Notes
Window tint laws vary by state and country. Before you buy film, check what shade is legal for your front side windows and windshield strip. If you go too dark, you may get a ticket or fail inspection.
Work in a calm place with good light. Keep the heat gun moving. Too much heat in one spot can crack glass or damage defroster lines on the rear window.
If you are doing other small DIY jobs while you are in a cleaning mood, DIY battery terminal cleaning is another quick task that helps your car start strong.
Numbered Installation Steps
1. Pick the Right Conditions
Choose a warm day if possible. Tint film handles better when it is not cold. Park in the shade or inside a garage. Wind and dust are your enemy. A dusty driveway is where bubbles are born.
2. Protect the Door Panels and Interior
Open the door. Lay towels along the door panel and window switch area. Tint removal water and adhesive can drip down. Protecting the panel saves cleanup time.
3. Remove the Old Tint: Side Windows
Lower the window about half an inch. Heat the tint from the inside. Use a hair dryer if you do not have a heat gun. Keep the heat moving in small circles.
Start at a top corner. Lift the film with a plastic razor blade. Once you grab an edge, pull slowly while heating ahead of your pull. Pull the film back over itself, not straight out. This reduces glue left behind.
If the film tears, reheat and pick up a new edge. Do not rush. Fast pulling usually leaves more adhesive.
4. Remove the Old Tint: Rear Window (Defroster Safe Method)
The rear glass is the tricky one because of the defroster lines. If you scrape too hard, you can damage them.
A safer method is heating and peeling slowly. Another simple option is the trash bag method: Spray the outside of the rear glass with water, stick a trash bag to it, and smooth it flat. Then heat the inside tint. The trapped heat helps soften the glue. Peel the tint slowly, keeping it warm the whole time.
5. Remove Leftover Adhesive
After the film is off, you will usually have glue on the glass. Spray the glass with soapy water or a little alcohol. Let it sit for a minute.
Use a plastic razor blade to push the glue off. Wipe and repeat. For the rear window, avoid scraping across the defroster lines. Use light pressure and wipe in the direction of the lines.
Finish with glass cleaner and a microfiber towel. The glass should feel smooth with no sticky spots.
6. Deep Clean the Glass and Window Seals
This step is the secret to “no bubbles.” Dirt hides along the bottom seal and side edges.
- Spray slip solution on the glass.
- Use a clean microfiber to wipe the glass.
- Wrap a card in a microfiber and run it along the bottom seal to pull out grime.
- Do a final wipe with lint-free paper towels.
If your car has small rattles or trim that pops loose while you work, you might also like Fix loose interior panels to tighten things up.
7. Cut the Tint Film to Size (Outside the Glass First)
Most beginners get better cuts by shaping the film on the outside of the window.
- Clean the outside glass.
- Spray water on the outside so the film can stick in place.
- Lay the tint film on the outside with the liner side facing you (follow the film brand directions).
- Smooth it with your hand.
- Trim with a sharp blade, leaving a small gap from the edge.
Change blades often. A dull blade will drag and tear the film.
8. Wet the Inside Glass and Peel the Liner
Spray the inside glass with slip solution until it is fully wet. This gives you time to position the film.
Peel the liner off the tint. As you peel, spray the adhesive side with slip solution right away. This prevents it from grabbing dust and keeps it from sticking to itself.
9. Install the Film on the Inside
Place the wet film on the wet glass. Align the top edge first. Then align the sides. Let the film float on the solution.
For side windows, leave the window slightly lowered so you can tuck the top edge cleanly. After the top is set, you can raise the window carefully later.
10. Squeegee: Center Out, Top Down
Start in the center. Push the water out toward the edges with firm, even strokes. Work from top to bottom.
- First pass: Light pressure to set the film.
- Second pass: More pressure to push water out.
- Final pass: Wrap your squeegee in a microfiber and chase the last moisture at the edges.
If you see a bubble, do not panic. A “bubble” is usually trapped water. Push it to the nearest edge. If it will not move, lift that area gently, spray more solution, and lay it back down.
11. Tuck Edges and Final Trim
Use a wrapped card to tuck the film into the bottom seal area. Do not jam the tool. Gentle pressure is enough.
If you need to trim a tiny amount, use a fresh blade and cut slowly. Small clean cuts look factory. Jagged cuts look DIY.
12. Let It Cure
Do not roll the windows down for at least 48 hours. Some films need longer in cold or humid weather. You may see a hazy look or small water pockets for a few days. That is normal while it dries.
Common Mistakes
- Not cleaning the bottom seal: Dirt here causes the classic line of bubbles.
- Using ammonia cleaner on interior trim: It can discolor plastics and damage some films.
- Overheating the rear tint: Too much heat in one spot can risk glass damage.
- Using metal razor blades on the inside: They scratch glass fast.
- Cutting with a dull blade: It pulls the film and leaves rough edges.
- Touching the adhesive side with dry fingers: Fingerprints can show through.
If you are building your DIY confidence, try another easy project like DIY interior bulb replacement. It is quick and very beginner friendly.
Maintenance Tips
- Wait at least one week before using any cleaner on the inside of tinted glass.
- Use a soft microfiber towel. Avoid rough paper towels.
- Use mild, ammonia-free cleaner to prevent film damage.
- Do not stick suction cup mounts to fresh tint for a couple of weeks.
- If an edge lifts, do not pick at it. Warm it lightly and press it down with a wrapped card.
Good tint is like other smart car mods. The best results come from clean prep and careful work. If you are deciding which upgrades matter most, Performance vs style mods can help you think through your next steps.
Is It Worth It?
Yes, if you have time and patience. DIY tint removal and reinstall can save money, and it feels great when it comes out clean. The trade-off is that it takes longer than most people expect. For a first timer, plan a full day for removal and install on two front windows, and longer if you add the rear window.
If your rear defroster is important and the tint is old and brittle, a pro may be safer. Rear glass is where DIY mistakes cost the most.
Conclusion
Removing old window tint and installing new film at home is a doable DIY project. Work in a clean area, use heat slowly, and take your time on adhesive removal. Clean the seals, keep the film wet during install, and squeegee from the center outward. Do that, and you can get a smooth tint job with no bubbles and clean edges.


