




This post may contain affiliate links. Please read our disclosure and privacy policy for more information.
Apple CarPlay is one of the easiest ways to make an older car feel modern. You get maps, calls, music, and messages on a bigger screen. If your car did not come with CarPlay, you can still add it at home. This guide is for beginners. It uses simple tools and simple steps.
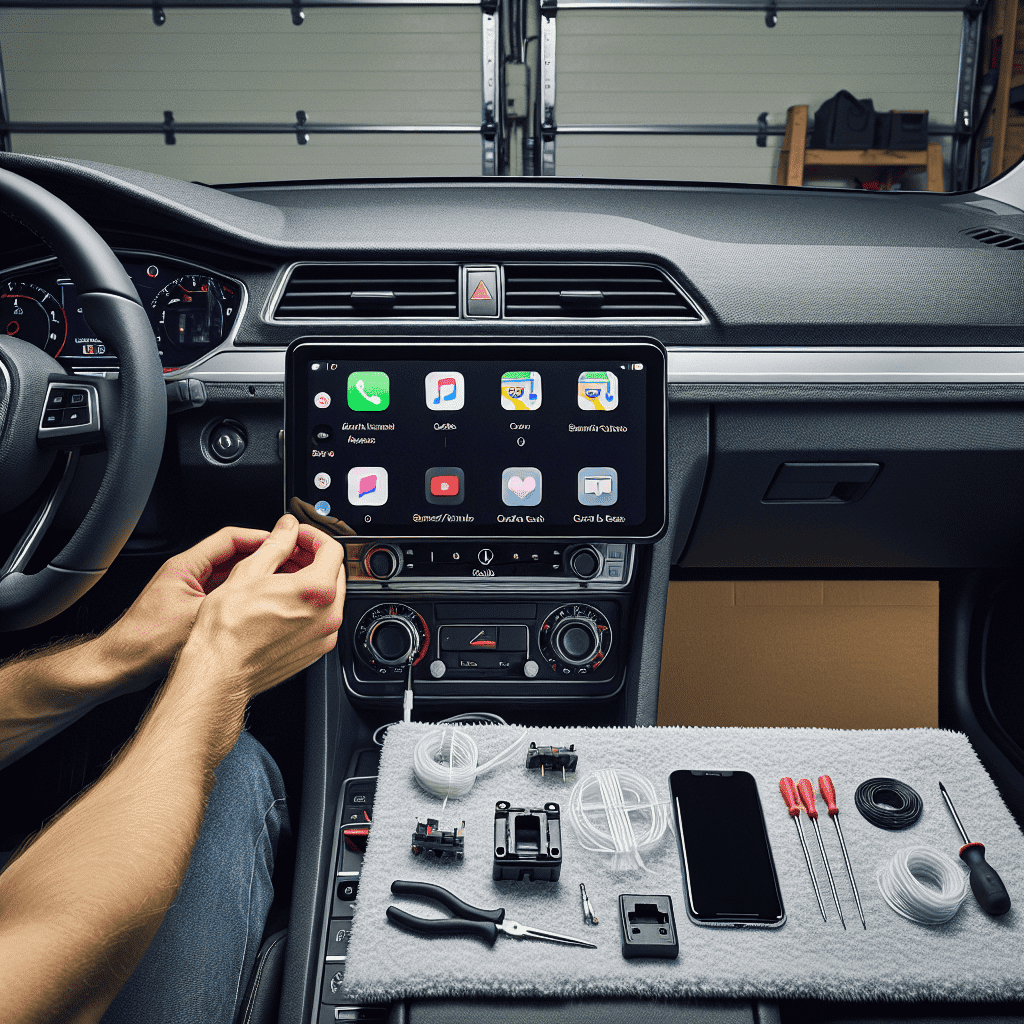
There are two main DIY options. If you want CarPlay without touching a single wire, a portable Apple CarPlay screen is your answer. It mounts on your dash, plugs into power, and works within minutes. The second option is a replacement head unit (radio) with built-in CarPlay, which looks cleaner and more factory-fitted but takes significantly more time and effort to install.
What You Need
Tools and Items Needed
For a Portable Apple CarPlay Screen (Easiest)
- Portable CarPlay screen (wired or wireless)
- Power source: 12V socket plug or hardwire kit (optional)
- Dash mount or windshield mount (usually included)
- Plastic trim tool (optional, for hiding wires)
- Alcohol wipe or glass cleaner (for a strong mount)
- Cable clips or small zip ties
For a CarPlay Head Unit (More Work, Cleaner Look)
The first thing you will need is the head unit itself. This is the main screen that connects to your iPhone through Apple CarPlay. Most aftermarket CarPlay head units come in two sizes:
Single-DIN CarPlay Head Unit
Fits smaller dash openings in older vehicles. Compact and easier to install without major dashboard changes.
- Wireless Apple CarPlay and Android Auto
- Bluetooth and Wi-Fi support
- Touchscreen display
- Audio tuning controls
Works well for a simple and space-saving setup.
Double-DIN CarPlay Head Unit
Uses a larger dashboard opening. Gives the interior a cleaner, more modern look with a larger screen and extra features.
- Larger touchscreen display
- Wireless CarPlay support
- Backup camera compatibility
- Better audio output options
- Steering wheel control support
If your dashboard supports it, Double-DIN usually gives the most factory-style appearance.
Additional Parts You May Need
Along with the head unit itself, some vehicles may also need:
- Vehicle-specific dash kit
- Wiring harness adapter (important for avoiding factory wire cutting)
- Antenna adapter
- Steering wheel control adapter
Basic Tools For Installation
- Screwdriver set
- 10mm socket and ratchet
- Plastic trim tools (helpful for removing panels without scratching trim)
- Heat shrink or electrical tape
If you like simple upgrades, you may also enjoy DIY car upgrades at home. Many of those projects pair well with a CarPlay add-on.
Safety or Legal Notes
Step-by-Step
Numbered Installation Steps
Option A: Portable Apple CarPlay Screen Install (About 20 to 45 Minutes)
Sit in the driver's seat and hold the screen where you want it. Good spots are above the center vents or on the dashboard near the radio. You want it easy to reach, but not blocking the windshield.
Use an alcohol wipe or glass cleaner. Let it dry. Dirty dash surfaces often make mounts fall off later.
Follow the screen's mount instructions. Tighten knobs so the screen does not shake while driving.
You have three common choices:
- AUX cable (best sound if your car has AUX)
- Bluetooth (easy, good quality on most cars)
- FM transmitter (works on older cars, but can get static)
If your screen supports multiple options, start with AUX or Bluetooth first.
Plug into the 12V socket. Turn the key to accessory mode and confirm the screen powers on. If you dislike dangling wires, you can tuck the cable into trim gaps using a plastic trim tool.
Run cables along the dash edges. Use clips or zip ties. Keep cables out of the driver's footwell. Make a small loop near the screen so you can adjust the angle without pulling the cable tight.
For wireless CarPlay, connect Bluetooth first, then follow the screen prompts. For wired CarPlay, plug your iPhone into the screen's USB port.
Check maps, call audio, music, and microphone quality. If call audio sounds wrong, check if the sound is coming from the car speakers or the screen speaker. Set it the way you prefer.
Option B: CarPlay Head Unit Install (About 2 to 5 Hours)
Remove the negative terminal and set it aside so it cannot touch the post.
Use plastic trim tools. Work slowly. Many panels are held by clips. Put screws in a cup so you do not lose them.
Usually it is held by 4 bolts. Pull it out and unplug the connectors and antenna.
Match the harness adapter to the new head unit harness. Most are color-to-color. Connect by crimping or soldering. Cover connections with heat shrink or tape. If you are not sure, stop and confirm the wire labels.
If you want steering wheel buttons to work, install the steering wheel control adapter now. Follow its instructions closely. This step varies by car.
Plug in the harness and antenna. Reconnect the battery. Turn the key on and check power, sound, and CarPlay. Then disconnect the battery again before final mounting.
Install the dash kit brackets if needed. Slide the unit in and secure it with screws.
Many head units use an external microphone. Mount it near the driver, like at the top of the A-pillar trim or on the steering column cover. Do not place it over an airbag area. Route the USB to a console pocket for easy phone connection.
Snap panels back in. Tighten screws. Reconnect the battery and do a final test drive.
Watch Out
Common Mistakes
Keep It Running
Maintenance Tips
Is It Worth It?
For most drivers, yes. A portable CarPlay screen is the best value if you want an easy weekend project. It gives you modern features without touching factory wiring. A CarPlay head unit is worth it if you want the cleanest look, better audio control, and less clutter on the dash.
If you are already comfortable pulling trim panels and routing wires, you can take on more in-car electronics next, like a DIY dash cam install.
Clean Conclusion
Adding Apple CarPlay at home is a beginner-friendly upgrade if you pick the right approach. Go portable for the quickest install. Go ahead unit if you want a factory-like finish.
Take your time with mounting and cable routing, and test everything before you button the dash back up. You will end up with a safer, easier way to use your phone in the car.
Read Next


