


This post may contain affiliate links. Please read our disclosure and privacy policy for more information.
A weak alternator can make your car act strange. The battery light may come on. The headlights may dim. The car may crank slow or even stall. The good news is: You can test your alternator at home with basic tools.
This guide walks you through 7 simple steps. You will check the battery first, then check charging voltage, then look for common alternator problems.
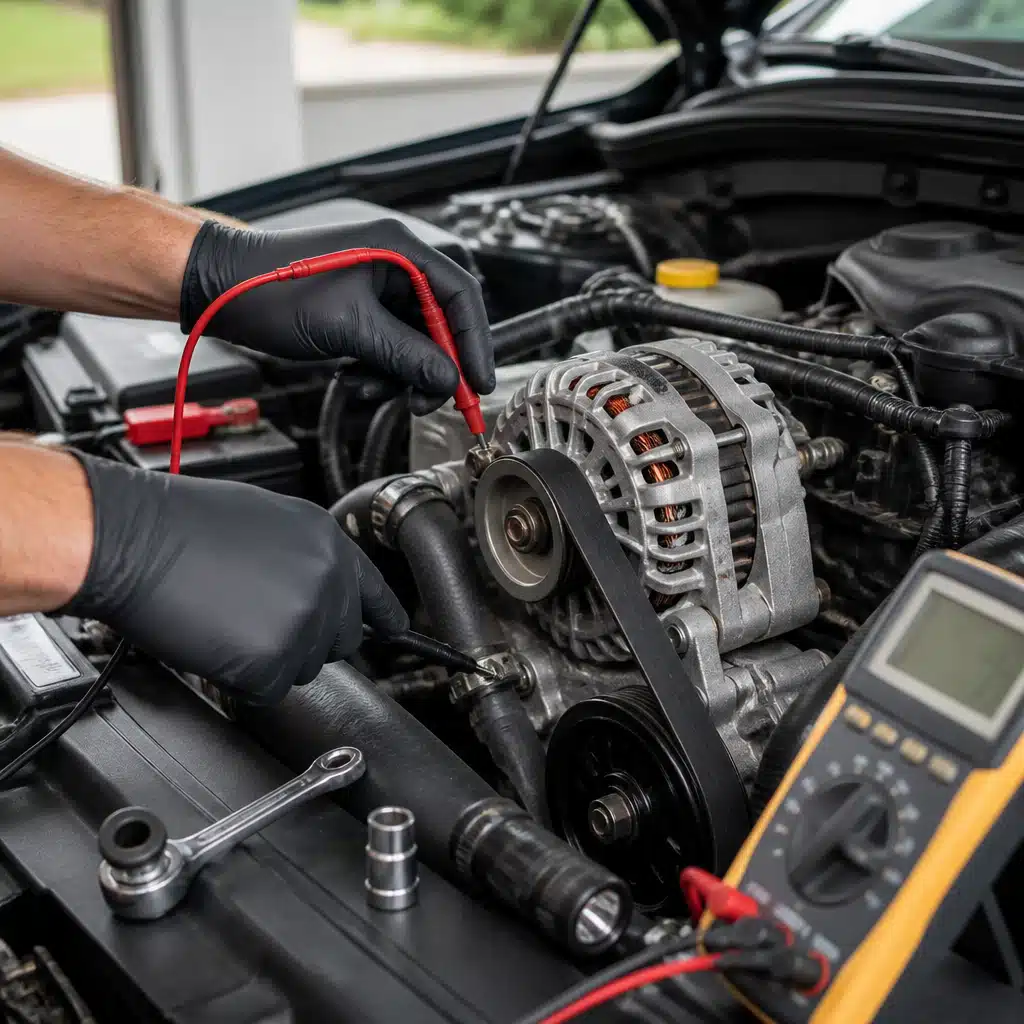
Tools And Items Needed
- Digital multimeter (with DC voltage and AC voltage settings)
- Safety glasses and gloves
- Flashlight
- Basic hand tools (to remove plastic engine covers if needed)
- Paper and pen (to write down voltage readings)
If you do not have a multimeter yet, start with this guide: test car battery with multimeter.
Safety Notes
- Work in a well-ventilated area. If the engine is running, do not test in a closed garage.
- Keep hands, hair, and loose clothing away from belts and pulleys.
- Do not touch the exhaust or hot engine parts.
- Never remove the battery cable while the engine is running on modern cars. It can damage the ECU and electronics.
- Set the parking brake and put the car in Park or Neutral.
DIY: Test Your Car Alternator At Home In 7 Steps
1. Check The Battery First (Engine Off)
Alternator tests can fool you if the battery is bad. Start with a simple battery voltage check.
- Turn the car off. Turn off lights and accessories.
- Set your multimeter to DC volts (20V range on many meters).
- Touch the red probe to the battery positive (+).
- Touch the black probe to the battery negative (−).
Quick readings guide:
- About 12.6V: Healthy, fully charged battery.
- About 12.4V: Partly charged, still usable.
- 12.2V or less: Low battery or weak battery.
If your battery is very low, charge it first or jump-start the car, then continue. A dead battery can make the alternator look weak when it is not.
2. Do A Fast Visual Check Under The Hood
Before you chase electrical problems, check the basics.
- Look at the serpentine belt. It should not be cracked, glazed, or missing chunks.
- Check belt tension. A loose belt can slip and reduce charging.
- Look at the alternator wiring plug. It should be fully seated.
- Check the battery terminals. They should be tight and clean.
If you see heavy corrosion on the terminals, clean and tighten them before testing more. Bad connections can cause charging problems.
3. Test Charging Voltage At Idle (Engine Running)
Now you will see what the alternator is doing when the engine runs.
- Start the engine and let it idle.
- Set the multimeter to DC volts.
- Measure voltage at the battery posts again.
Typical alternator charging range at idle is about 13.8V to 14.6V. Some cars may run slightly lower or higher depending on computer-controlled charging.
What the reading usually means:
- 13.8V to 14.6V: Alternator is charging normally.
- 12.6V to 13.2V: Weak charge, could be belt slip, wiring issue, or alternator problem.
- Below 12.6V: Not charging, or the alternator is not being commanded on.
- Above 15.0V: Overcharging. This can point to a bad voltage regulator and can harm the battery.
4. Raise RPM And Watch The Voltage
Some alternators charge better once RPM is higher.
- With the car in Park or Neutral, raise engine speed to about 1,500 to 2,000 RPM.
- Hold it steady for 10 to 15 seconds.
- Watch the voltage at the battery.
The voltage should stay steady in the charging range. If it jumps around a lot, drops under load, or falls back close to 12.6V, you may have an alternator, belt, or wiring issue.
5. Turn On Electrical Loads (Load Test At Home)
Alternators fail under load. This step stresses the system in a safe way.
- Keep the engine idling.
- Turn on headlights (high beams if safe), cabin fan on high, and rear defroster.
- If you have fog lights, turn them on too.
- Measure voltage at the battery.
On many cars, voltage may drop a bit at idle with heavy loads. But it should usually stay above about 13.3V to 13.5V. If it drops near 12.6V or keeps falling, the alternator may not keep up.
If your car also feels lazy when driving, low charging can be part of the bigger picture. You can compare symptoms with Slow acceleration checks.
6. Check For AC Ripple (Bad Diodes Test)
Alternators make AC power and convert it to DC. Bad diodes can leak AC into the electrical system. This can cause weird issues like flickering lights, noisy radio, and battery drain.
- Keep the engine running at idle.
- Set your multimeter to AC volts (not DC).
- Measure across the battery posts again.
A common rule of thumb is: AC voltage should be very low, often under 0.1V to 0.3V AC. If you see higher readings like 0.5V AC or more, the alternator may have diode problems.
7. Confirm The Problem Is Not The Battery Or A Simple Connection
If your readings look bad, do a couple of quick checks before you call the alternator dead.
- Check battery terminal tightness again.
- Look for a loose engine ground strap.
- Inspect the main alternator charge wire for damage.
- If possible, measure voltage drop: Check DC volts between the alternator case and battery negative while running. A high reading suggests a ground problem.
A weak or failing battery can also trigger charging complaints. If you are not sure about the battery condition, go back and do a full DIY car battery test and write down the results.
If your alternator is weak, you may notice random dash warnings or rough running. Sometimes owners confuse it with other drivability problems like power loss climbing hills. Voltage tests help separate charging issues from engine issues.
Common Mistakes
- Testing only once: Take at least three readings. Engine off, idle, and with loads.
- Probing the wrong place: Touch the probes to the battery posts, not the cable ends, for best accuracy.
- Skipping the belt check: A slipping belt can mimic a bad alternator.
- Using the “remove battery cable” trick: It can damage modern electronics.
- Judging by the battery light alone: Some cars do not turn the light on until the charging is very low.
Maintenance Tips
- Keep battery terminals clean and tight. Poor connections raise alternator workload.
- Replace worn belts on time. A fresh belt helps charging and prevents breakdowns.
- Fix oil leaks that drip on the alternator. Oil can damage bearings and brushes.
- If you drive short trips only, charge the battery now and then. Short drives may not replace the power used during starting.
If you like simple upkeep projects, small habits can prevent bigger headaches. The list in Common car maintenance mistakes is a good reminder of what trips people up.
Is It Worth It?
Yes, testing an alternator at home is worth it. It takes about 15 to 30 minutes. It can save you from replacing the wrong part. It also helps you decide what to do next:
- If charging voltage is good: Your problem may be the battery, wiring, or something else.
- If charging voltage is low and the belt and connections are good: The alternator is a strong suspect.
- If it is overcharging: The regulator may be bad, and you should fix it soon.
If your tests point to alternator failure, replacement is usually a fair DIY job on many cars, but some have tight access. If access is poor or wiring is damaged, a shop may be the smarter choice.
Conclusion
You can test your car alternator at home with a multimeter and a few simple checks. Start with battery voltage, then measure charging voltage at idle, at higher RPM, and under electrical load. Finish by checking AC ripple to spot diode issues. If your readings stay in the normal range, the alternator is likely fine. If not, you now have real numbers to guide your next repair.


