


This post may contain affiliate links. Please read our disclosure and privacy policy for more information.
A weak car battery can cause slow cranking, random warning lights, and no-start mornings. The good news is: You can test your battery at home with a cheap multimeter. You do not need special tools. You just need a few simple steps and the right numbers to look for.
This guide covers three useful checks: Battery voltage with the engine off, voltage while cranking, and charging voltage with the engine running. Together, they tell a clear story.
Tools and Items Needed
- Digital multimeter (settable to DC volts)
- Safety glasses
- Gloves (optional, but helpful)
- Paper or phone notes to write results
- Flashlight (if the battery is in a dark spot)
- Helper (optional for the cranking test)
Safety or Legal Notes
Work in a well-ventilated area. Keep flames, cigarettes, and sparks away from the battery. Car batteries can vent hydrogen gas.
Remove metal jewelry like rings and watches. If a tool bridges the battery terminals, it can cause a dangerous short.
Touch the multimeter probes only to the battery posts or approved test points. Do not poke into damaged wiring. If the battery case is cracked, leaking, swollen, or smells like rotten eggs, stop and replace the battery.
Numbered Installation Steps
1) Find the battery and check it first
Open the hood and locate the battery. Some cars have it in the trunk or under a seat. If your battery is hidden, check your owner’s manual.
- Look for corrosion on the terminals (white or blue crust).
- Check that the cables are tight and not wiggly.
- Check the battery case for swelling or leaks.
If the terminals are dirty, voltage readings can be misleading. A bad connection can act like a bad battery. If your car has other strange issues at the same time, like Car feels slow to accelerate, electrical problems can be part of the story, but start with the basics.
2) Set up the multimeter the right way
Turn the multimeter dial to DC volts. It is often marked as V with a straight line and dots. If your meter has ranges, choose the 20V DC range.
- Black probe goes in the port marked COM.
- Red probe goes in the port marked V.
Do not use the amps port for this job. That port is for current testing and can blow a fuse in the meter.
3) Test battery voltage with the engine off (resting voltage)
Turn the car fully off. Remove the key. Close doors if possible so interior lights turn off. For the best reading, wait 10 to 30 minutes after driving. If you cannot wait, the reading will still help, but it may be a little high.
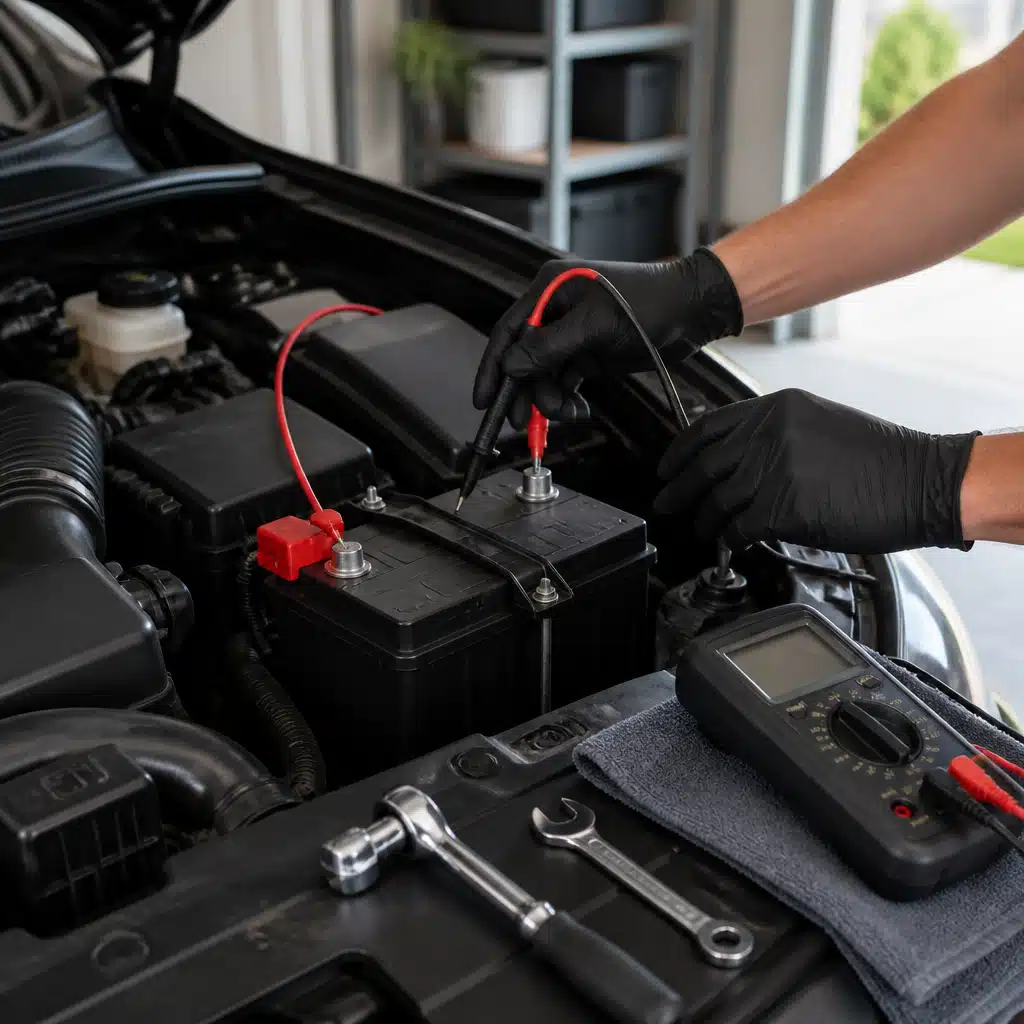
Now touch the probes to the battery posts:
- Red probe on the positive post (marked +).
- Black probe on the negative post (marked -).
Read the number on the screen.
Simple voltage guide (12V lead-acid battery):
- 12.6V to 12.8V: Healthy and fully charged
- 12.4V to 12.5V: Partly charged, still often OK
- 12.2V to 12.3V: Low charge, may struggle in cold weather
- 12.0V to 12.1V: Very low, likely problem soon
- Below 12.0V: Battery is deeply discharged or failing
If resting voltage is low, charge the battery first, then test again later. A low reading can be from leaving lights on, not only from a bad battery.
4) Do a quick load check by watching voltage during cranking
This test checks how the battery holds voltage under a heavy load. It is very useful when the car cranks slow or clicks.
Keep the probes on the battery posts. Have a helper start the engine while you watch the meter. If you are alone, you can set the multimeter where you can see it through the windshield, but keep it away from belts and fans.
Watch the lowest voltage when the starter is turning.
- 9.6V or higher while cranking: Usually OK
- 9.0V to 9.5V: Weak battery or high resistance in cables
- Below 9.0V: Battery is very weak, or the starter is drawing too much
Cold weather lowers cranking voltage. Also, a dirty terminal can cause a big drop. If your voltage drop is bad and you also have symptoms like Engine ticking noise causes or other engine concerns, treat them as separate checks. This step is only about battery power during starting.
5) Test charging voltage with the engine running
Start the engine and let it idle. Keep the multimeter on DC volts. Touch red to positive and black to negative again.
Normal charging voltage is usually:
- About 13.8V to 14.6V at idle: Alternator is charging
- Below 13.5V: Charging may be weak, or there may be wiring issues
- Above 14.8V: Possible overcharging, voltage regulator problem
Next, turn on a few electrical loads: Headlights, rear defroster, and blower fan. The voltage may drop a little, but it should stay close to the mid 13s or higher in most cars. If it falls to the low 12s with the engine running, the alternator may not be keeping up.
6) If needed, do a simple voltage drop check at the terminals
This is quick and helps catch bad connections.
With the engine off, place one probe on the metal battery post and the other probe on the cable clamp on the same terminal. You are measuring the difference across the connection.
- 0.00V to 0.02V: Great connection
- 0.03V to 0.10V: Some resistance, clean and tighten
- Over 0.10V: Poor connection, fix it
Do this for both positive and negative terminals.
Common Mistakes
- Testing right after driving and thinking a high number means the battery is perfect. Surface charge can fool you.
- Measuring on the cable clamps only. Always test directly on the battery posts first for a true reading.
- Using the AC voltage setting by mistake. You need DC volts.
- Touching probes to the wrong places and causing sparks. Stay on the posts.
- Ignoring loose or corroded terminals. A good battery can act dead with a bad connection.
Maintenance Tips
- Keep battery terminals clean and tight. Corrosion adds resistance.
- If you do short trips only, the battery may never fully recharge. Take a longer drive sometimes or use a maintainer.
- In very hot or very cold climates, test the battery more often.
- If your car sits for weeks, disconnect the negative cable or use a trickle charger.
Battery problems can also show up as odd behavior under load. If you notice shaking that seems to come and go, it may not be the battery, but you can compare symptoms with car shakes when accelerating to rule out other causes.
Is It Worth It?
Yes, for most DIY owners. A multimeter test is fast, cheap, and accurate enough to guide your next move. It helps you avoid guessing. It also helps you decide if you should charge the battery, clean the terminals, or start looking at the alternator.
If your resting voltage is good but the cranking voltage drops very low, the battery may be weak even if it “looks fine.” If charging voltage is low with the engine running, the battery may not be the main problem.
Sometimes the battery is fine and the car still feels weak or struggles on hills. In that case, look at other checks like power loss climbing hills and keep troubleshooting step by step.
Conclusion
Testing a car battery at home with a multimeter is a simple skill that saves time and stress. Check resting voltage, watch voltage during cranking, and confirm the alternator is charging with the engine running. Write down your numbers. If the results are low, charge the battery and retest. If the battery still tests weak, it is likely time to replace it or fix a connection or charging issue.


