




This post may contain affiliate links. Please read our disclosure and privacy policy for more information.
Cleaning your engine bay at home can make your car look newer. It can also help you spot leaks, cracked hoses, and loose clamps sooner. You do not need fancy tools. You just need the right steps and a little patience.
This guide is for beginners. It uses a safe, low-water method that works for most modern cars.
Tools and items needed
- Cool engine and a shaded spot to work
- Nitrile gloves and eye protection
- Trash bag or plastic grocery bags
- Painter’s tape or rubber bands
- Soft detailing brushes (small and medium)
- Microfiber towels (6 to 10)
- Vacuum or small handheld vacuum (optional)
- Degreaser that is safe for engines (water-based is easiest)
- All-purpose cleaner (APC) for light dirt
- Spray bottle with clean water
- Pump sprayer or a gentle hose setting (optional)
- Compressed air or a small blower (optional but helpful)
Safety or legal notes
Work only on a fully cool engine. Hot metal can burn you. Hot parts can also flash-dry chemicals and leave stains.
Do not pressure wash the engine bay. High pressure can force water into connectors and sensors.
Avoid soaking electrical parts. Small modern connectors are sealed, but they are not magic. Keep water low and controlled.
Check local rules for driveway washing. Some areas do not allow runoff into storm drains. If you are not sure, use the water-light method and wipe off most grime with towels.
If you see heavy oil buildup, take it seriously. It can point to a leak. If you suspect a leak, this guide on Engine oil leaking under car can help you understand common sources.
Numbered cleaning steps
1. Let the engine cool and open the hood
Park on level ground. Turn the engine off. Wait at least 30 to 60 minutes. Longer is better.
Open the hood and remove loose items. Take out leaf debris by hand. If you have a vacuum, lightly vacuum the corners near the cowl and strut towers.
2. Do a quick inspection first
Look for cracked intake tubes, broken wire looms, and missing caps. Check fluid caps are tight.
If you see chewed wires, wet areas, or strong fuel smell, do not ignore it. A fuel odor is not normal. This article on fuel smell after filling up explains common causes.
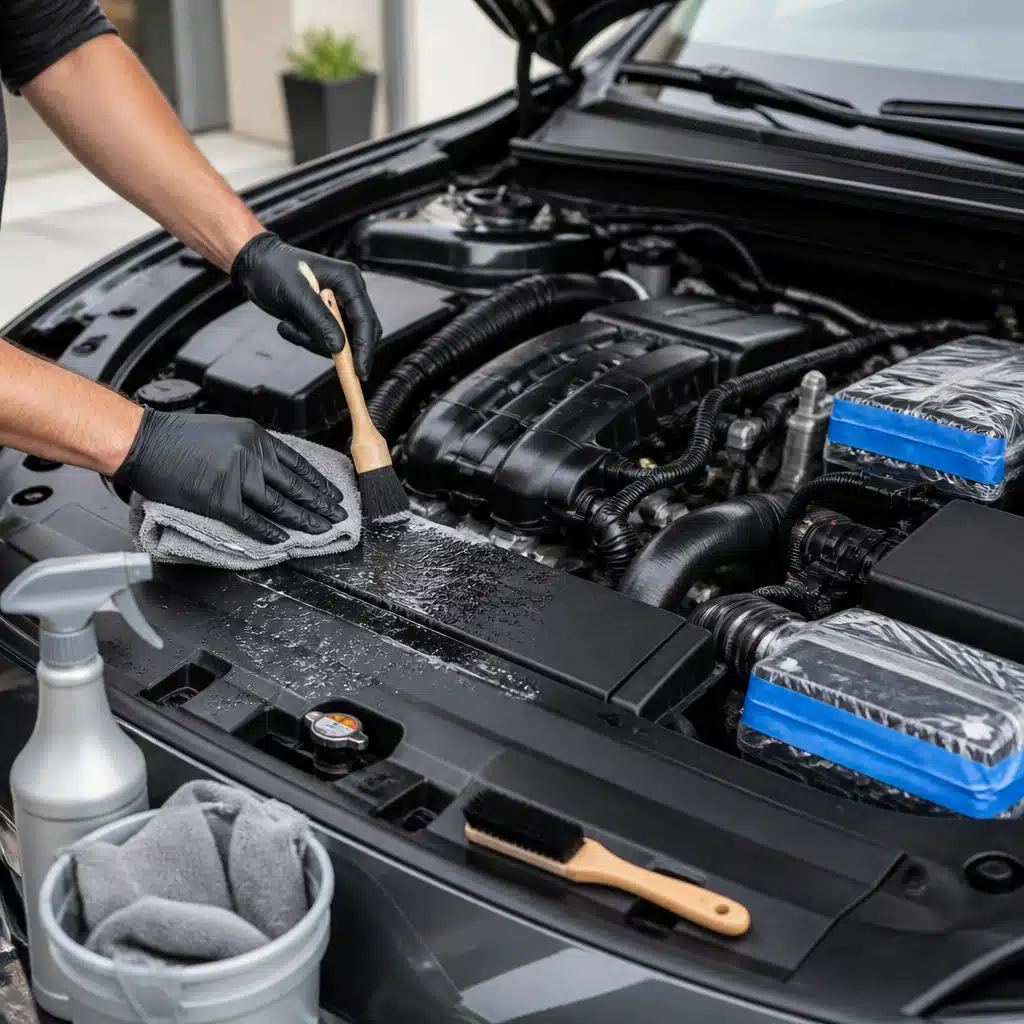
3. Cover sensitive parts
You do not need to wrap the whole engine. Cover a few key areas with plastic bags and tape or rubber bands:
- Alternator (very important)
- Battery top and terminals (especially on older cars)
- Open air filter or exposed intake (aftermarket setups)
- Aftermarket electronics or loose wiring
Leave sealed factory connectors alone. Do not tug on them.
4. Dry brush the dust
Use a soft brush to loosen dry dust first. Brush plastic covers, the radiator support, and the tops of hoses. This step keeps you from turning dust into muddy paste later.
5. Choose the right cleaner for the dirt level
For light grime, use APC. For oily areas, use a water-based degreaser.
Do not spray cleaner onto a hot engine. Do not soak the whole bay at once. Work in sections.
6. Spray cleaner onto the towel or brush first
This is the beginner-safe method. Mist cleaner onto your brush or microfiber towel. Then wipe and scrub.
For stubborn spots, spray a small amount directly onto the dirty area. Wait 30 to 90 seconds. Then agitate with a brush.
7. Agitate gently, then wipe
Use small circles with the brush around caps, brackets, and textured plastic. Use the towel to lift the loosened grime.
Swap towels often. A dirty towel just spreads grease.
8. Use minimal water to rinse
If you can, skip a full rinse. Instead, use a spray bottle with clean water and mist the area lightly. Wipe immediately with a fresh microfiber towel.
If you need more rinsing, use a gentle hose flow with no nozzle, or a pump sprayer. Keep water away from the alternator and fuse box areas. Never blast water into tight gaps.
9. Dry the engine bay
Remove as much water as possible right away. Use dry microfiber towels to blot and wipe.
If you have compressed air or a blower, use it to push water out of crevices. Focus on:
- Around coil packs and spark plug areas
- Near the firewall wiring looms
- Around the battery tray
If your engine has misfire issues after cleaning, moisture around ignition parts is a common reason. This guide on spark plug failure causes can help you understand what to check.
10. Remove covers and do a final wipe
Take off the plastic bags and tape. Wipe those areas with a barely damp towel, then dry.
Close the hood gently, then reopen and check for any pooled water. Wipe again if needed.
11. Start the car and let it idle
Start the engine. Let it idle for 5 to 10 minutes with the hood open. This helps evaporate small leftover moisture.
Watch the dash. If you get a warning light that was not there before, shut the car off and recheck for wet connectors. For general warning light basics, this beginner guide on check engine light common causes is useful.
Common mistakes
- Cleaning a warm engine: It can stain parts and can burn you.
- Using a pressure washer: It can damage connectors, sensors, and seals.
- Soaking the alternator: It can lead to charging problems later.
- Letting degreaser dry on plastic: It can leave white marks.
- Using harsh cleaners on painted areas: Some strong degreasers dull paint.
- Skipping drying: Leftover water can cause rough idle or misfires.
- Pulling on wiring: Old clips can snap easily.
Maintenance tips
Engine bay cleaning is easier if you do light upkeep.
- Wipe dust monthly with a damp microfiber towel.
- Clean fresh spills right away. Oil and coolant attract dirt.
- After servicing your car, check for drips the next day.
- Do a deeper clean every 6 to 12 months, or before selling the car.
If you like a clean interior too, a simple weekend job like DIY car AC vent cleaning pairs well with engine bay work.
Is it worth it?
Yes, for most beginners it is worth it. A clean engine bay helps you spot problems early. It can make repairs less messy. It also makes your car look cared for.
It is not worth it if you plan to blast everything with high pressure water. That is where people get into trouble. If you stick to light water, brushing, and wiping, it is a safe DIY job.
Conclusion
DIY engine bay cleaning at home is simple when you go slow and keep water under control. Work on a cool engine. Cover the alternator. Use gentle cleaners, soft brushes, and microfiber towels. Dry everything well, then let the engine idle to finish the job. Your engine bay will look better, and you will be more likely to notice small issues before they turn into big ones.


