




This post may contain affiliate links. Please read our disclosure and privacy policy for more information.
Cloth car seats pick up everything. Dust. Food crumbs. Sweat. Spills. The good news: You can deep clean cloth seats at home without a wet vac or extractor machine. You just need the right mix of cleaners, a soft brush, and a simple way to pull dirt back out of the fabric.
This guide keeps it simple. It works for most factory cloth seats and fabric door panels too.
Tools and items needed
- Vacuum with a crevice tool and brush attachment
- Microfiber towels (8 to 12 is nice)
- Soft to medium upholstery brush (or a clean dish brush)
- Spray bottle
- Warm water
- Dish soap (clear, non-bleach)
- White vinegar (optional, for smells)
- Baking soda (optional, for odor and moisture)
- Small bowl or cup for mixing
- Nitrile gloves (optional)
- A fan (helps drying)
Simple DIY seat cleaner mix
- 2 cups warm water
- 1 teaspoon dish soap
- 1 tablespoon white vinegar (optional)
Mix it in a spray bottle. Shake gently. Do not make it super bubbly.
Safety or legal notes
Do not soak seats. Many modern seats have airbags in the sides and sensors in the cushion. Too much water can cause problems, smells, or warning lights.
Test any cleaner on a hidden spot first. Some cloth dyes can fade.
Keep the car ventilated while you work. Crack the windows. If you use vinegar, the smell goes away after it dries.
Numbered installation steps
1. Park in a good spot and open the car up
Pick a dry day if you can. Park in shade. Open all doors. Put a fan near the car if you have one.
2. Remove clutter and floor mats
Take out trash, coins, and anything in seat pockets. Remove floor mats so you are not pushing dirt back onto the seats later.
3. Vacuum the seats slowly
This step is the real “deep clean.” If you skip it, you will smear grit around and make the fabric look worse.
- Slide the front seats all the way back. Vacuum the front edge, seams, and rails area.
- Slide them forward. Vacuum the backrest and the gap between the cushion and back.
- Use the crevice tool on seams. Dirt hides there.
- Use the brush attachment for the main panels.
If you have pet hair, use a slightly damp rubber glove or a pet hair brush first, then vacuum again.
4. Pre-treat stains the smart way
Spot cleaning first keeps you from over-wetting the whole seat.
- Spray the cleaner onto a microfiber towel, not directly onto the seat.
- Blot the stain. Do not scrub hard yet.
- For sticky spots, hold the damp towel on the stain for 30 to 60 seconds to soften it.
If the stain is oily, add one tiny drop of dish soap to the damp towel and blot again.
5. Lightly mist a small section
Work in sections about the size of a sheet of paper. Mist the fabric lightly. The goal is damp, not wet. If you can squeeze water out of the seat, it is too much.
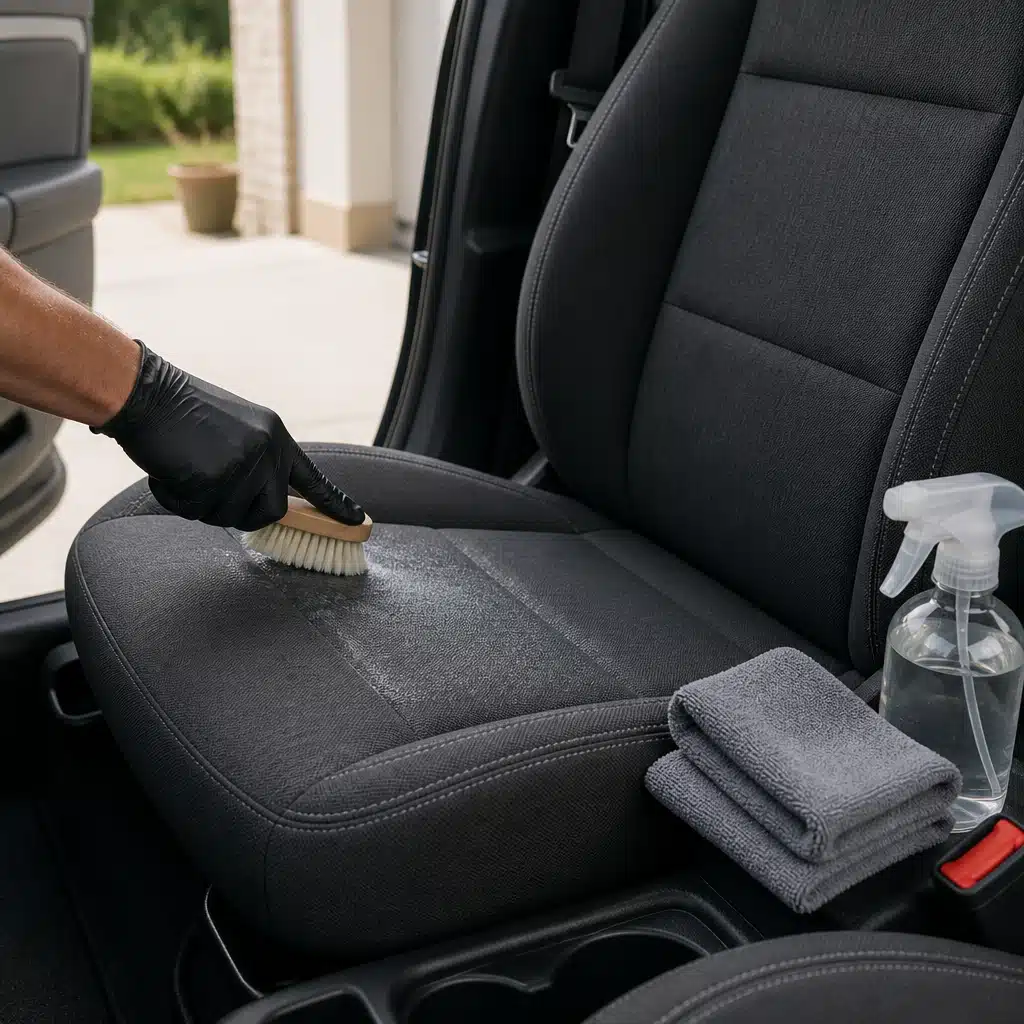
6. Agitate with a brush
Brush the damp area with short strokes. Do a cross pattern. Left to right, then up and down. This lifts soil from the cloth fibers.
Wipe the brush on a towel often. You will be surprised how much dirt comes off.
7. “Rinse” without a machine
Soap left in the fabric can attract dirt later. So do a simple rinse step.
- Fill a second spray bottle with plain warm water.
- Mist the same section very lightly.
- Immediately blot with a clean, dry microfiber towel.
Press down hard with your palm. You are trying to pull dirty moisture back out of the seat.
8. Repeat until the towel stays mostly clean
Do not chase perfection in one pass. Two to four passes per section is normal on dirty seats.
Swap towels often. If you wipe with a dirty towel, you are re-depositing grime.
9. Deal with odors (optional)
If the seats smell musty or like food, odors usually live in the fabric and foam. After cleaning, you can do one of these:
- Baking soda method: Sprinkle a light coat on dry seats. Let it sit 2 to 8 hours. Vacuum it up.
- Vinegar mist: Very lightly mist a 50/50 mix of water and vinegar. Let it air dry.
If smells are strong, use a full interior approach with DIY car odor removal.
10. Dry the seats fully
Drying is not optional. Damp seat foam can smell bad and can grow mildew.
- Blot the whole seat with a dry towel one last time.
- Leave windows cracked.
- Run a fan for at least 30 to 60 minutes.
- If the weather is humid, let the car sit open longer.
Do not sit on the seats until they are dry to the touch.
Common mistakes
- Soaking the seat: This pushes dirt deeper and makes drying take forever.
- Using too much soap: More soap means more residue. Residue grabs new dirt fast.
- Scrubbing hard right away: This can fuzz the fabric and spread stains.
- Skipping the vacuum: You end up making mud from dry grit.
- Using colored towels: Dye can transfer to light cloth seats.
- Closing the car up to “dry”: That traps moisture and smell.
Maintenance tips
- Vacuum seats every 2 to 4 weeks. The less dirt you grind in, the easier stains come out.
- Clean small spills right away. Blot first, then use a light cleaner.
- Keep a small kit in the trunk: Microfiber towel, small spray bottle, and a soft brush.
- If you also detail other areas, add Clean car AC vents to cut down on cabin dust and smells.
Is it worth it?
Yes, for most people. Cloth seat cleaning is mostly time and elbow grease, not special tools. The main limits are heavy stains that have soaked deep into foam, and seats that were left wet for too long in the past.
DIY cleaning also fits the bigger picture of Mechanic vs DIY maintenance costs. You can keep your interior in good shape without paying for professional extraction every time.
If you notice other neglected signs inside a car you just bought, it can be part of a bigger story. A dirty interior alone is normal, but combined with other issues it can point to Signs of poor maintenance.
Conclusion
You can clean cloth car seats at home without a machine by using light moisture, gentle brushing, and lots of blotting. Vacuum first. Work in small sections. Rinse lightly so soap does not stay in the fabric. Then dry the seats fully with airflow. Do that, and your cloth seats will look better, smell cleaner, and stay that way longer.


